


Making Recycled Paper at Home
/
During the month of November we’re celebrating America Recycles Day. Making your own recycled paper at home is a great way to learn about the recycling process.
During the month of November, we are celebrating America Recycles Day. This event is kind of like Earth Day. It’s celebrated annually on November 15, and throughout the whole month. You can celebrate too by visiting the official website, AmericaRecyclesDay.org, and take the #BeRecycled pledge. One of the recommendations is to learn more about recycling and your local recycling program. However, it’s also a great time to get some hands-on experience with recycling.
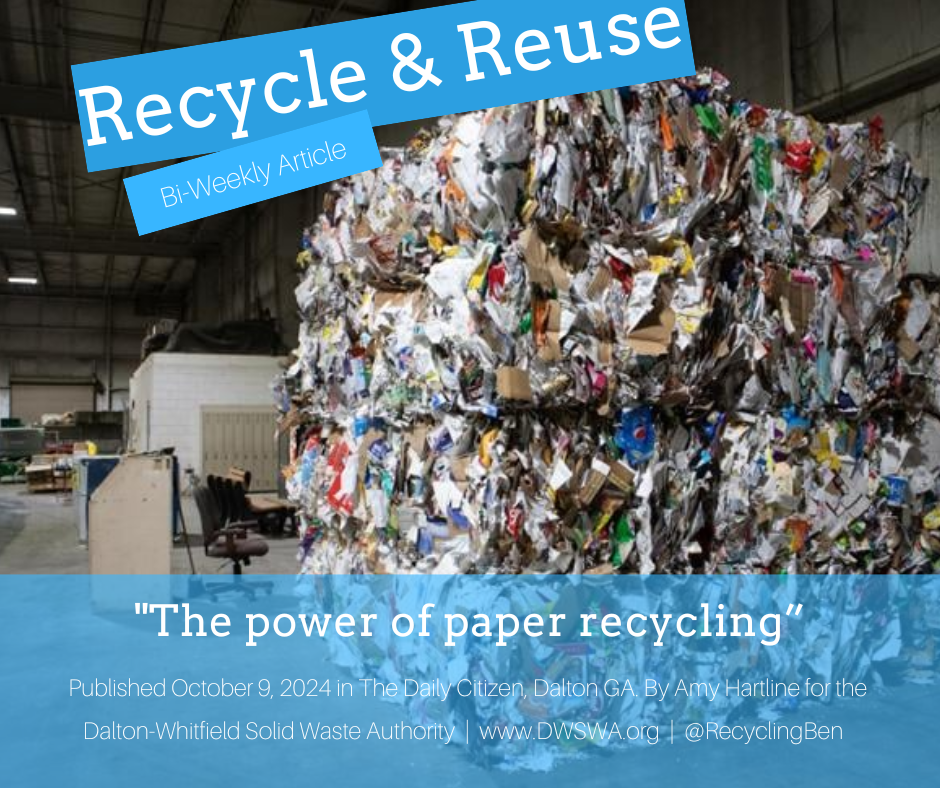
This month, try your hand at making paper at home by recycling it yourself. Homemade recycled paper can be perfect for holiday greeting cards, gift tags, and ornaments. If anything, it’s a great experiment to learn about how paper is recycled at paper mills. According to the Georgia Recycling Coalition, 15 paper mills in Georgia use recycled paper, collected from local programs like ours, to make their new paper products. 8 of those are using 100% recycled paper instead of trees. In fact, 8% of all paper used in the U.S. is recycled in Georgia.
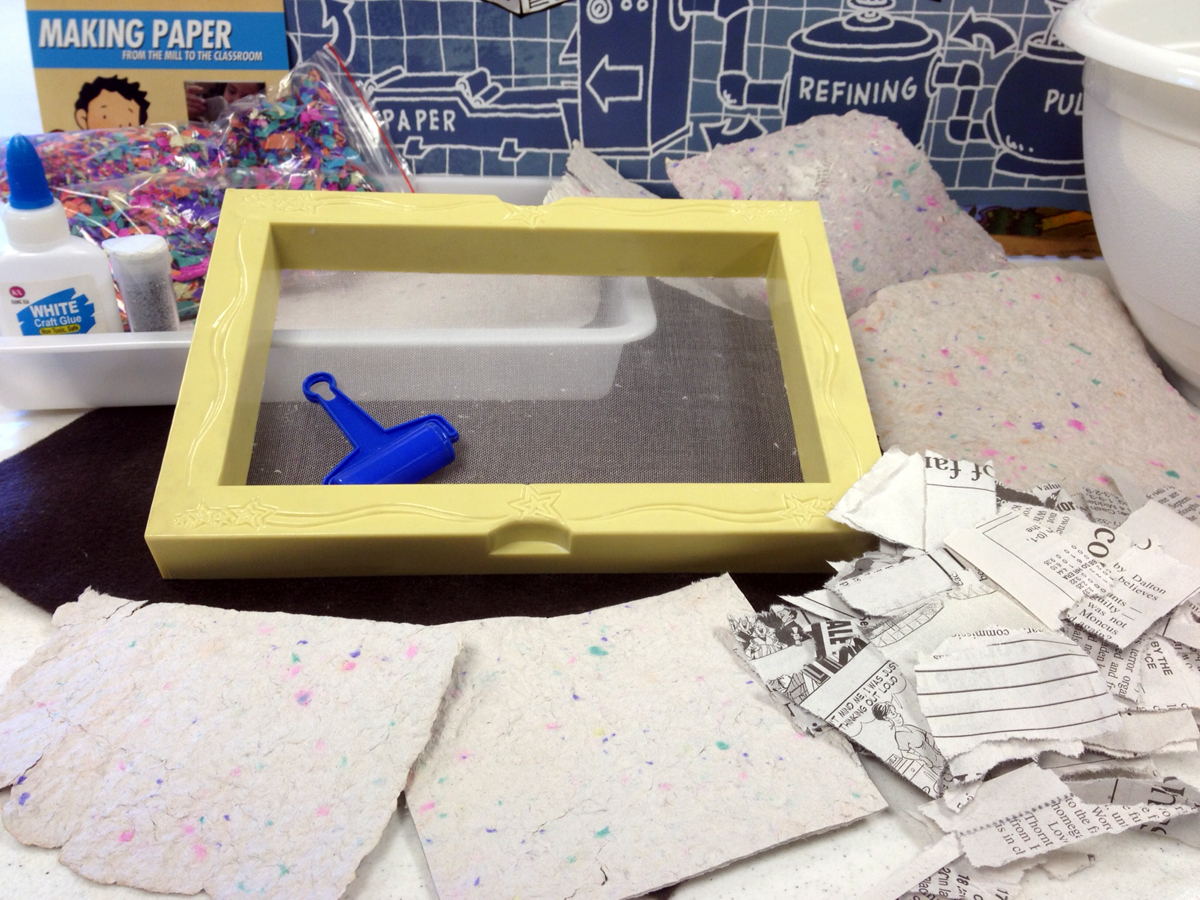
Have some newspaper in your recycling bin? Perfect! Just a few pages of newsprint can get you started in the fine art of papermaking at home. Here’s how you can make your own custom paper, one sheet at a time.
• Gather supplies: Newspaper, glue or cornstarch, water, mixing bowl, wax paper, and a large plastic bin. I highly recommend an electric blender or hand-held eggbeater to mix water and paper into a pulp; it’s easier and quicker than just using your hands. You’ll also need a frame with a screen that will determine the size and shape of your recycled sheet of paper. These can be found in papermaking kits and are sometimes called a deckle and mold. You can make your own using a thick wooden picture frame and a fine wire screen, like plastic window screening, stapled to the outer edges. An embroidery hoop with a screen will also work.
• Choose decorative items to mix in with your paper: Glitter, confetti, color chips cut out from construction paper, small dried flowers, leaves, herbs, or short pieces of thread. If using a blender, these items should all be added after the pulp has been mixed and transferred to a mixing bowl.
• Prepare paper pulp: Separate newspaper by color to make a pure base color. Tear newspaper into one or two inch squares. If using a blender, fill it about a quarter full with paper scraps then add enough water to cover the paper. Cover the top and blend on medium-high for a few seconds at a time. Blend at medium speed until you no longer see pieces of paper, and the pulp has a soupy consistency. If mixing by hand, fill the mixing bowl about half way with paper scraps and add enough water to cover the paper. Let it sit for about 30 minutes to get soft, then use your hands to tear and mulch the paper into a pulp.
• Add decorative items: In the mixing bowl add glitter, confetti, or other items to decorate the paper. Do not use the blender when adding decorative items to avoid damaging it and the decorations.
• Add glue: To help the fibers stick together, add a few drops of glue to the pulp or a tablespoon of cornstarch. Newspaper may be okay without it, but if you have a lot of decorations you’ll need some adhesion.
• Filter thru screen: Lay the screen, flat side down, in a pan or large plastic bin and pour some watery pulp into it. Let the water drain and swish the screen back and forth to evenly distribute the pulp on the screen. Use your fingers or a small roller to spread the pulp evenly.
• Remove from screen: Pull the screen straight up out of the bin and hold it above the tub to let the rest of the water drain. There’ll be a few drops left on top, but the majority of the water should be removed. Lay a stack of old newspapers, or an old bath towel on the table. Flip the frame over so that the wet sheet of paper pulp lies on top of the newspaper stack. Lay another stack of newspapers or a towel on top of the sheet.
• Prepare to dry: Use a small rolling pin or your hands to squeeze out extra water. Start at one end of the newspaper stack and press firmly and evenly across the pile. Do this several times to remove as much water as possible and press the fibers together. Carefully remove the top layer of newspaper to expose the sheet of paper. Lay a fresh piece of wax paper on top and flip over the stack. Slowly remove the stack of newspaper from the sheet of paper, leaving only the new paper on the wax sheet to dry. Let the paper dry for several hours or overnight before use.
If you find that your paper has curled up while drying you can iron it flat by first laying a piece of damp cloth over it. Make sure the iron is on low heat. Now you have unique paper to make recycled crafts for the holidays.